Showing posts with label Renaissance Faire. Show all posts

Thursday, March 5, 2015

Historical Sew Monthly #2 Blue

So Saturday the 28th the only item I hadn't finished for this challenge was my 1915 jacket, which needed buttons and buttonholes. When I got off work I put on the outfit in order to figure out placement, but I was too tired to actually sew. And considering that the Dreamstress is in New Zealand and I'm in California, completing the challenge the day it's due makes it a day late anyways. So I decide to put it off till Sunday.

Sunday goes fine . . . until about 5pm. I'm at work, and I start feeling sick. Just all over weak and crappy. So when I get home, instead of sewing or hanging with friends, I go to bed. I have a fever so I bundle up in blankets with the plan to burn off whatever this bug is. (My husband tells me this is a bad idea, but I do it anyways.)

Monday I am more sick than I have been in YEARS. No real fever, but the kind of weakness and blood pressure drop that means there is a very real possibility of passing out from simply going to the bathroom because it requires me to be upright for a couple of minutes. I am home alone for most of the day, and have to fight to get downstairs to get water and such. I sleep for most of the day. When roommates do get home I get some soup in me, and some Ibuprofen, and start feeling better. Well enough to go to work Tuesday, but not well enough to make it through my whole shift. I spend the day doing some self care.

Today I'm not totally better and am planning on seeing a doctor. But I also realized maybe I should just make my HSM post and not worry about the damn buttons!

tl;dr: I was sick, so here's a post with the jacket still unfinished.

First up, a Renaissance doublet for a Lady Knight! Front

And back. I decided on sleeveless for movement, time, and heat reasons.

Close-up of the front. Her colors are blue and silver, so the doublet is a blue brocade with silver/grey piping and trim. The patterned band is actually a light blue with silver, gold, and black accents. The closures are metal.

Close-up of back. The trims didn't meet perfectly between the upper and the skirt, but it's not super noticeable in person. The whole thing is interlined in canvas, with some wool padding at the shoulders, upper chest, and back. The skirt and shoulder bits are lined in self fabric and the rest is lined in linen.

Inside of doublet.


The breeches are grey wool with black, blue, and silver trims. The patterned band from the doublet makes it's appearance around the legs.
There is braiding at the lower edge of the waistband, and they lace closed. My "points" are bead caps from Michaels, gently folded around the cord with pliers.
Ground photo of the whole outfit. Flash is angry she isn't really in the picture.
Now Flash is just angry cause she has to stand around in a saddle.
And, of course, a mounted photo. The front of the doublet has a tendency to buckle while seated, so I'll be adding some metal bones to it to keep it smooth. Otherwise, a lap around the ranch showed no issues with the outfit.
The Challenge: #2 Blue
Fabric: Upholstery cotton brocade, cotton duck, wool blend scraps, linen
Pattern: Alter Simplicity 4059
Year: late 16th century
Notions: grey piping, grey braid, light blue patterned ribbon, cotton thread, six metal clasps
How historically accurate is it? Probably more Ren Faire than true Renaissance, but I tried to base the design off of surviving pieces. It is machine sewed and the fabric isn't right. Let's say 20%.
Hours to complete: 25?
First worn: Feb 17, when the photos were taken.
Total cost: Some of this was stash, some was purchase. For just the doublet, probably in the realm of $40
Next up, my 1915 skirt. 
When I decided to make a 1915 outfit I knew I had some fabric I could use for a skirt.
The background floral motif isn't super obvious in person, but the stripes are. I drafted a pattern from a guide from 1912, made up the skirt, and voila!
(The stripes are hard to see in the photo, but picture more stripes, less floral). The skirt has a false crossover front, darted waist, side opening, and these buttons:
They're La Mode Vintage buttons, based off a design used from 1900 - 1919.
The Challenge: #2 Blue
Fabric: Striped, floral, blue cotton (possibly a blend)
Pattern: "Side-Fastening" Skirt, from Thornton's International System of Ladies Garment Cutting (1912)
Year: 1912, but the wider skirts hadn't completely replaced the slim ones, and thus should work for 1915
Notions: Cotton thread, four buttons, hook and eye closures.
How historically accurate is it? The pattern of the fabric doesn't work, stripes are fine but not with the floral added, but otherwise it's solid. 85%
Hours to complete: 6-8, from drafting to complete
First worn: Not yet
Total cost: $10? I had to buy buttons and thread, and I think the fabric was a dollar or two a yard when I got it.
And the jacket. When you see the skirt, you think blue. A grey/blue, but blue none the less. But when you're in downtown L.A. trying to match colors for a jacket, you realize that the fabric is too grey to be blue, too brown to be grey, and too blue to be brown. What I finally found was this:
A greyish blue that is the same dusty hue as the skirt, if not a perfect match to the color. I pulled together resources for making the jacket as the instructions are few, but the sew-along was almost no help either (the steps available are 1: marking, 2: pockets, and 4: the pleated collar. And in case you think I misnumbered, step 3 (which I think is the simple collar, the one I was making) was gone. It was frustrating as one of the reasons I close to purchase the pattern was the extra help the sew-along would provide.) My result:
The striped fabric is used for the tops of the pockets, the collar, the cuffs, and the center of the belt.
Side view for awesome sailor collar
The Challenge: #2 Blue
Fabric: Blue-grey quilting cotton, blue striped floral from the skirt
Pattern: Wearing history's 1916 suit jacket 
Year: 1916, but similar jackets were worn a year eariler
Notions: Cotton thread, 7 buttons, hymo interfacing, linen bias tape to bind the seam allowances.
How historically accurate is it? Except for the stripey floral print and the use of hymo as interfacing, I'd say pretty dang. 90%
Hours to complete: Still not completed, needs button and buttonholes
First worn: Not yet
Total cost: $50, including pattern

Tuesday, February 17, 2015

Squire for hire

My friend is going to be doing a jousting demonstration in Los Angeles next month, and I am going to be her squire. Since she decided on a German nationality for her persona, I decided to make a middle class German outfit for myself.

I made my costume using Katafalk's Trossfrau tutorial and pattern, including non-period use of steel bones in the front for lacing. Since I didn't have any fabric that would be appropriate for a mock-up, I altered the bodice to my measurements and then cut it with 3/4 inch seam allowances. I planned to use the extra for any changes that might be needed, but luckily the bodice fit in one go.

The fabric is a purple wool I got for $5 or $6 a yard a couple of years ago. The guards are black wool and the lining is linen. I cheated and machine sewed the thing, except for stitching down seam allowances, attaching the guards, making the lacing strips, and attaching the skirt.

The shift is one I made three years ago from a medium weight linen.

Please ignore the face I'm making, I'm looking into the sun and my cat cannot be trusted.

The skirt is two widths of fabric carriage pleated to the bodice so it gives me a nice hip flair. I had wanted to do three widths, but I ran out of fabric.

The skirt has a single guard near the bottom, and I plan to add a second, narrower guard above it. My only problem with the dress is that since the front of the bodice has a slight point to it, the skirt is slightly too long in the front since I didn't take that into account. Also I made my lacing strips and bones a bit too long, so I could only fold up the bottom seam allowance 1/4 of an inch instead of a 1/2. That really doesn't make much of a difference, but it was annoying.

All in all I love it. It gives me a good shape, is super comfortable, and I don't feel restricted in any way. Photos of my knight will be posted later, as her outfit qualifies for the Historical Sew Monthly challenge.

Tuesday, February 10, 2015

Thou Shall Not Tempt The Sewing Gods

I haven't really been posting much lately, but this is not due to a lack of sewing; in fact, just the opposite. I've been sewing so much I haven't had much opportunity to take photos of the finished projects. Remember how I posted my plans for 2015, and since I didn't have a lot planned I was going to relax into it and add more as the desire struck me? That is to be considered 'tempting the sewing gods' and I will never do it again.

So a few weeks ago my friend Samifer (still keeping with the names from last year's costumes), told me that a school in L.A. is holding a Renaissance event and that she is the only jouster in a few counties that is willing and able to do a horse demonstration. They already have the insurance and licensing, but for the event she is going to need a Renaissance outfit. And also she wants me to be her squire and I'm going to need an outfit too. The event is the first week of March.

Since she is getting certified with the SCA and plans on having a persona and doing events, I didn't want to make a throw together outfit that she'll wear once and then never again. I wanted the pieces to be simple items that can to added to and become pieces of her Renaissance wardrobe. Which means we have to decide on a nationality. After a long look into different areas, their costumes and ease of wear, and other such things, she decided on German.

I made her a simple shift, with a little bit of decoration at the neckline, a sleeveless doublet (which will have tie on sleeves later), and I'm currently working on wool breeches. For myself I made a middle class dress, and plan on wearing a shift I made a couple of years ago.

Plus I'm still working on my 1915 outfit. I drafted the skirt pattern and made a mock-up out of stiff muslin. The actual skirt is going to have a nifty overlap-and-button bit, but I left it off of the mock-up and instead added a ruffle and some lace for a petticoat. It isn't finished yet, since I'm going to need a corset cover and am planning on making it all in one with the petticoat. Photos will hopefully be coming soon, but for now I have to get back to my sewing machine.

Wednesday, December 3, 2014

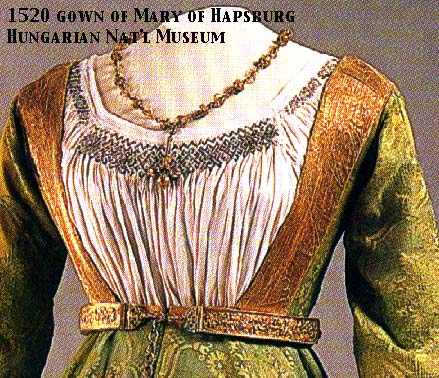
Mary of Hapsburg Hemd

So a while ago I came across an image somewhere (I want to say Pinterest, but I don't remember for certain.)
Website with details and other images here
In fact, I'm not entirely certain that this was the view that set me off, all I remember is clicking through and knowing, KNOWING, 'I have to make that!'

But I was in the middle of other projects and thus it remained as a note in the back of my brain. But now? Now I am determined to start it. I had already picked up some thin linen and metallic embroidery thread for the hemd or chemise, so last night I cut the pieces, and today assembly started. The pieces are big. The front and back pieces are 71 inches, and the sleeves are 48 inches. And all of that gets pleated down to the neckline. I thought I was prepared for the amount of work that entailed, but I forgot something. That 6+ yards of fabric needs to be hemmed first, before the smocking can begin. Did I mention I want this outfit to be accurate, and thus handstitched?

What have I got myself into?

Monday, April 21, 2014

Renaissance Faire!

On Sunday my friends and I went to the Southern California Pleasure Faire and had a blast. There was an Easter parade for the kids, and we spent more time watching shows than we had in previous years. I wore a costume I made up quickly and quietly a few months ago, my Vik-torian costume.

The inspiration with a comment by a friend about trying to mix Viking and Victorian components in a steampunk-ish style. I had trouble with the design at first, until I realized that the bunad, the national costume of Norway, came into being in the 1800s. My mother is Norwegian, and what better why to progress the Viking aesthetic into the Victorian era than by looking at the clothes of the people in Scandinavia.  I pulled together ideas like these:
Pattern available here
This is similar to the cutting layout I used
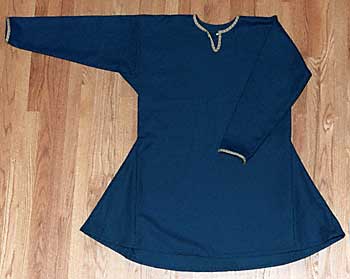
This men's shirt pattern is how I made my shift
The modern inspiration came from this bunad from the Telemark region of Norway
I also altered the shirt to reflect the modern bunad blouse
And the resulting outfit:
The close-up
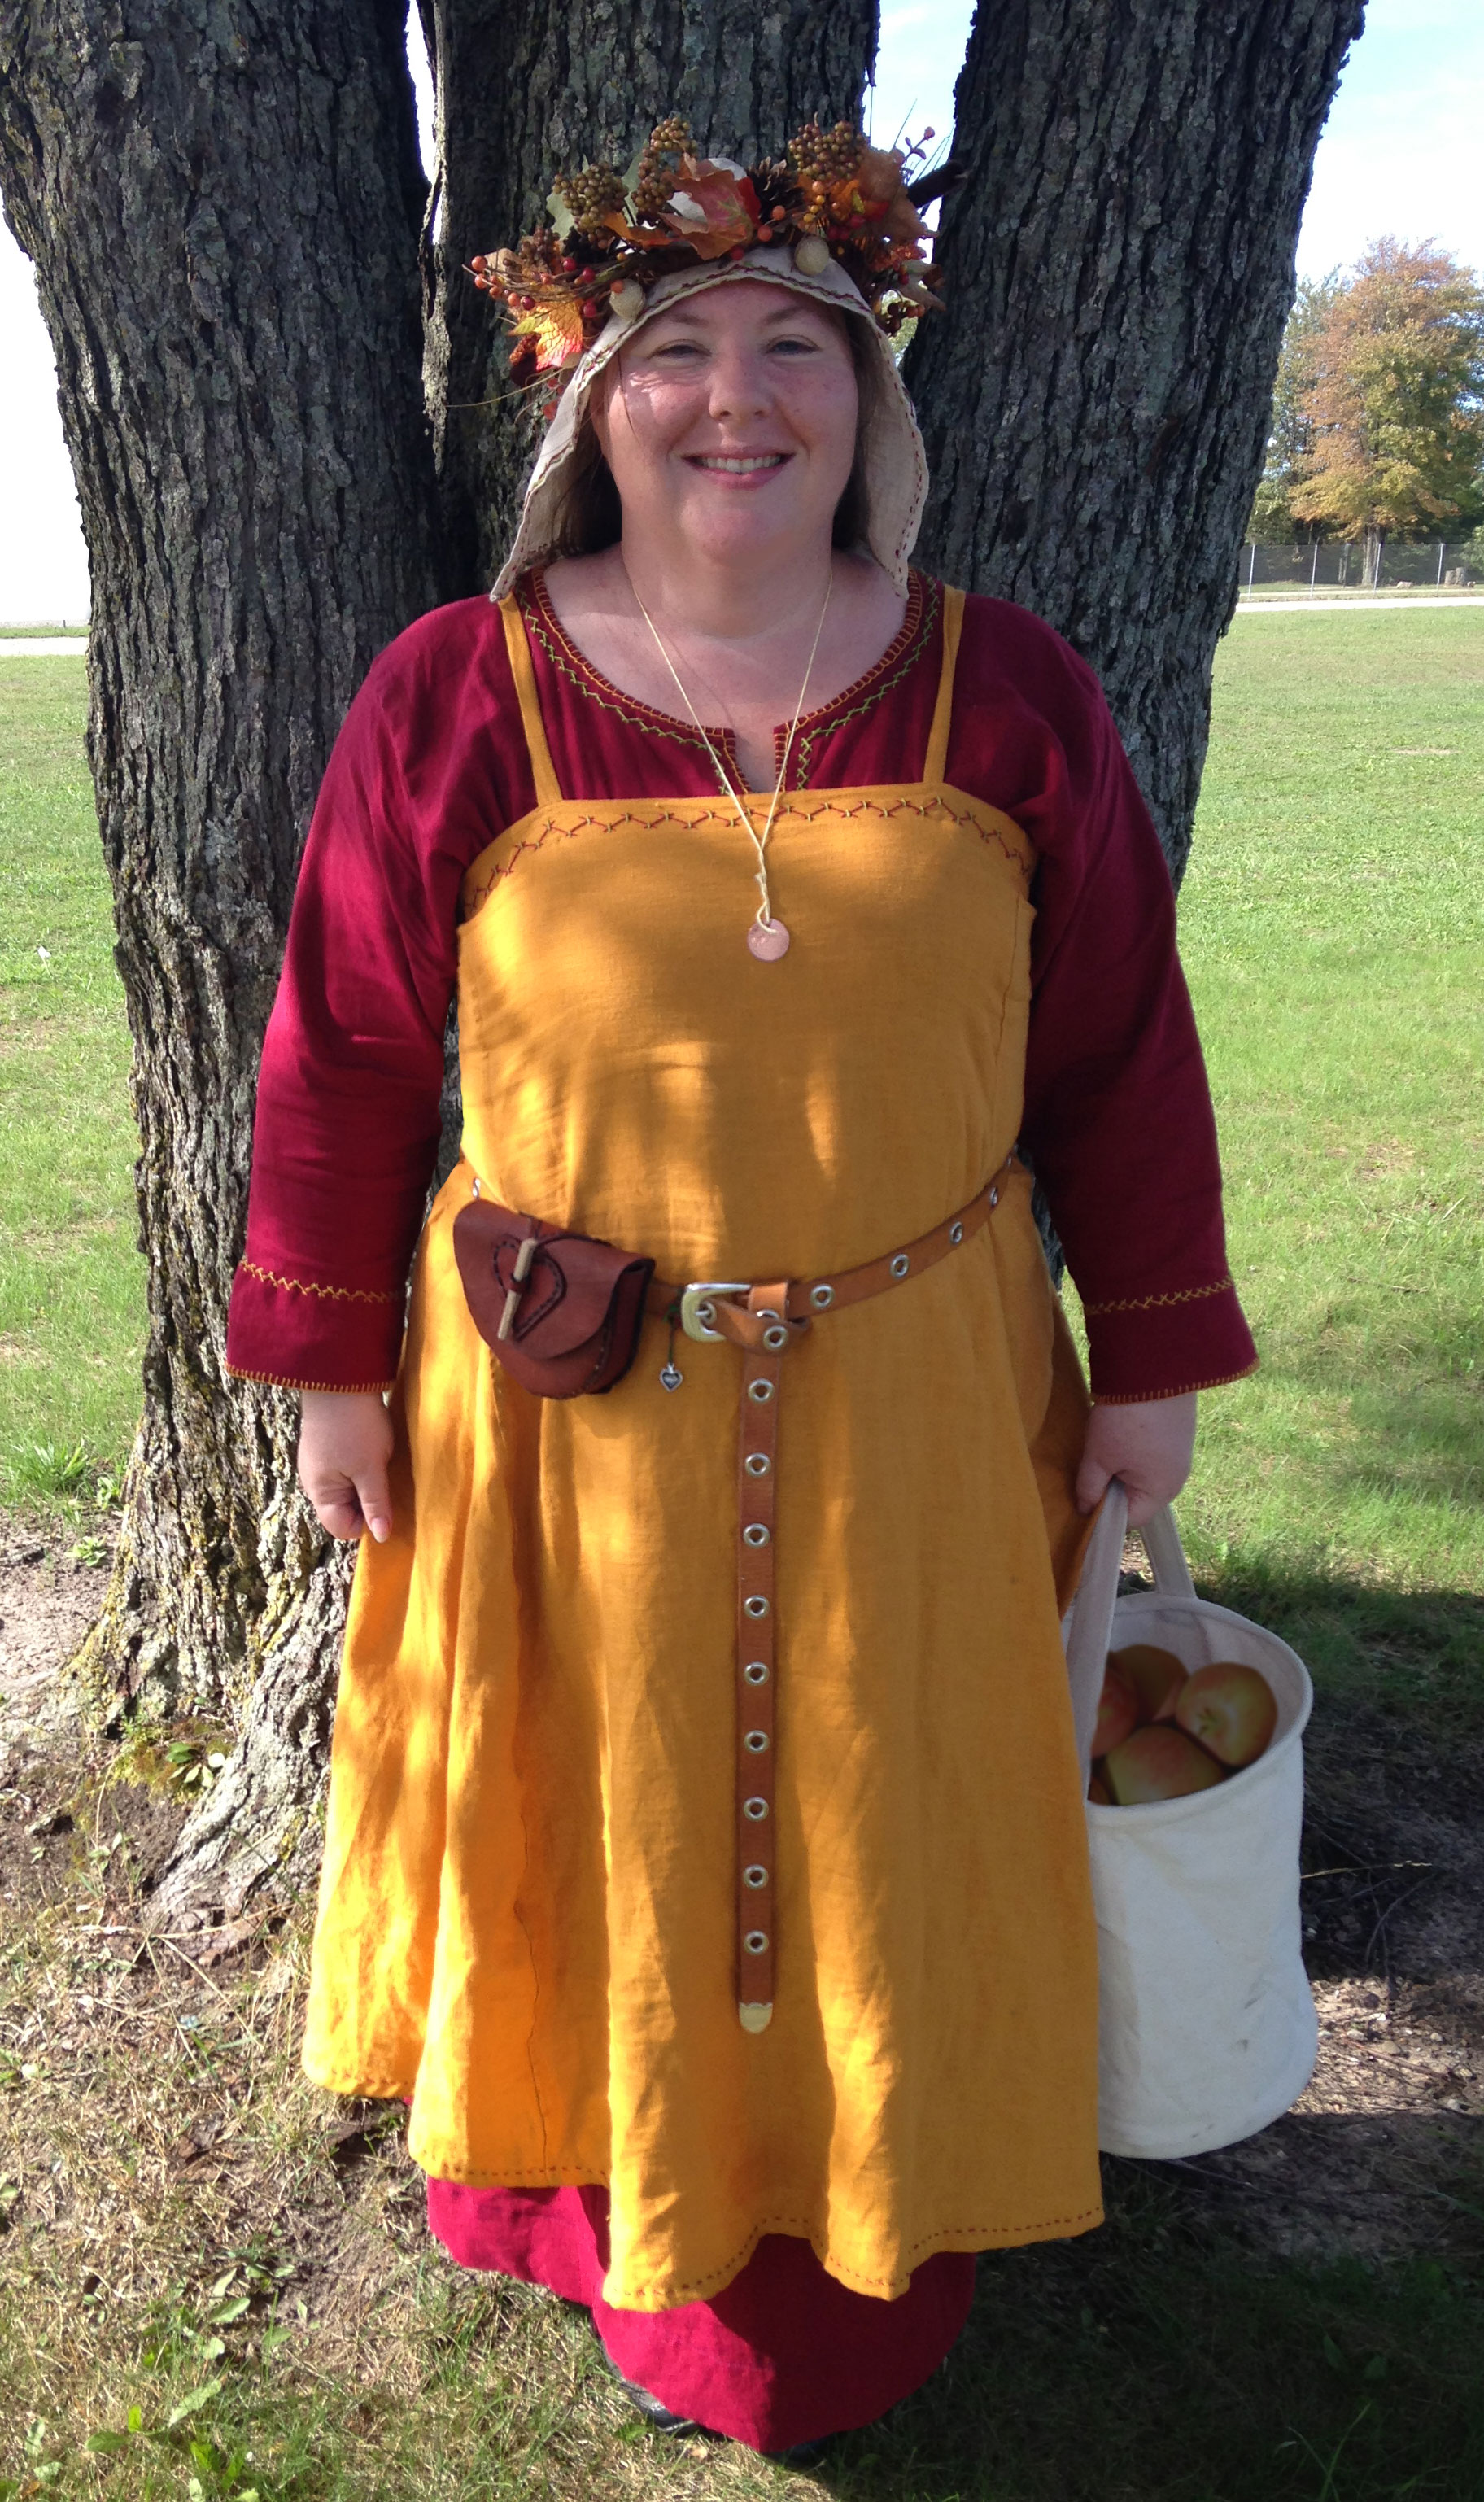
The shift/shirt is linen, stitched in the viking style with a keyhole neckline, but with modern cuffs. The neck is bound in store-bought bias tape and some fancy store bought trim circles the neck and cuffs. My tortoise brooches are slotted spoons with the handles broken off, wrapped in wire, with a safety pin on the underside. The double strand of beads are a collection of various bits, the belt was a blank one a stained dark and added a buckle. On the right side you can see my drinking horn (which I totally drank mead out of. Like a Viking.) The apron dress is black wool that I bought on clearance, and the under-bust corset bodice is red wool, with cotton canvas for strength and zip-ties for boning. A different trim goes around the top.
The lacing eyelets are jewellery clasps I bought, and it is laced with suede cord.
The the bottom of the apron dress has a different trim, and the bracers are scrap leather with metal grommets for lacing. I painted Viking sigils on them, the left prevents you from getting lost at sea and the right strikes fear in your opponents in battle. I also sewed on some fake fur trim, because a google search of Viking costumes will tell you that you're not a Viking unless you have fur on.
The costume was surprisingly comfortable, I was expecting worse considering I was wearing wool when the temperature was in the mid-80s. But the fabric was thin, the linen helped keep me comfortable, and the fact that I made the outfit knee length meant a had good air flow. I did have to let the corset out a bit, after lunch, but that was easy. I was particularly happy that I got to use my relic bag.
I knitted it a while ago out of a wool/bamboo blend, based off of this actual Renaissance bag:
My pattern in based off of the description of the Chur Purse. Note: although the gauge for the original is listed as 7 stitches per inch, they mean 7 stitches per centimeter. My bag is 7 stitches per inch.
So there you have it, Vik-torian costume at the Renaissance Faire. Now to get ready for my trip tomorrow, but one more pic before I go. Here is my cat, Ali, helping me draft of 18th century stays:
If the internet has taught me anything, it's that every sewing blog should have at least one photo of your cat "helping" you.

Monday, April 14, 2014

Stupid Adulthood

I had to bribe myself to get things done today. But now that the house has propane again, the car is gassed and had the oil changed, and I have ability to mow the pastures again, I allowed myself a trip to the Dollar Tree to pick up a bottle brush to clean my new drinking horn.
Is so pretty
Once it's cleaned and cured, I'll make a leather holster as use it at the upcoming Renn Faire. I was going to coat the interior with beeswax, but considering it can be over 80 degrees F indoors I thought it better not to waste time on something that won't work in the long run. Most guides use ale to cure it, but I wonder if vodka is okay. I like ale, but I have a big thing of vodka gathering dust in the cupboard. And wasting beer always seems like a crime. I plan to do more to it, but there is talk of going to the Renn Faire on Easter, so I doubt I'll have time.

I also picked up a selection of bamboo place-mats to use for boning in my 18th century stays. When I get to work on them (which will probably be during my vacation next week), I'll be using this tutorial, along with information in Norah Waugh's Corsets and Crinolines.
The pale ones in front have pieces 1cm wide; they're also the longest at 14 inches. They were the most expensive, a whole $2 each at Anna's Linens. Behind it, the next one has white pieces 2mm wide and blue pieces 5mm wide, but only 12 inches long. It was the only one I could find at the Dollar Tree. The two rainbow and two greenish ones at the top of the picture have pieces 3mm wide and 13 inches long. Those were $1 each from Big Lots. I have the width in metric because most articles I've read talk about stay bones in millimeters. 2-4 mm is more period for fully boned stays, but I'm not sure 13 inches will be long enough. But these will be my 'cane' boning for any lightweight stays or corsets I make for a while.

In the upper left corner of the picture are the silk pieces for Gabriel's corset, which I will be basting to the coutil by hand. Luckily, I found The Dark Knight for $5 at Big Lots, so at least I'll have entertainment.

Want to see the Disappearing Pencil trick?