Showing posts with label viking. Show all posts

Tuesday, December 16, 2014

Historical Sew Fortnightly #23

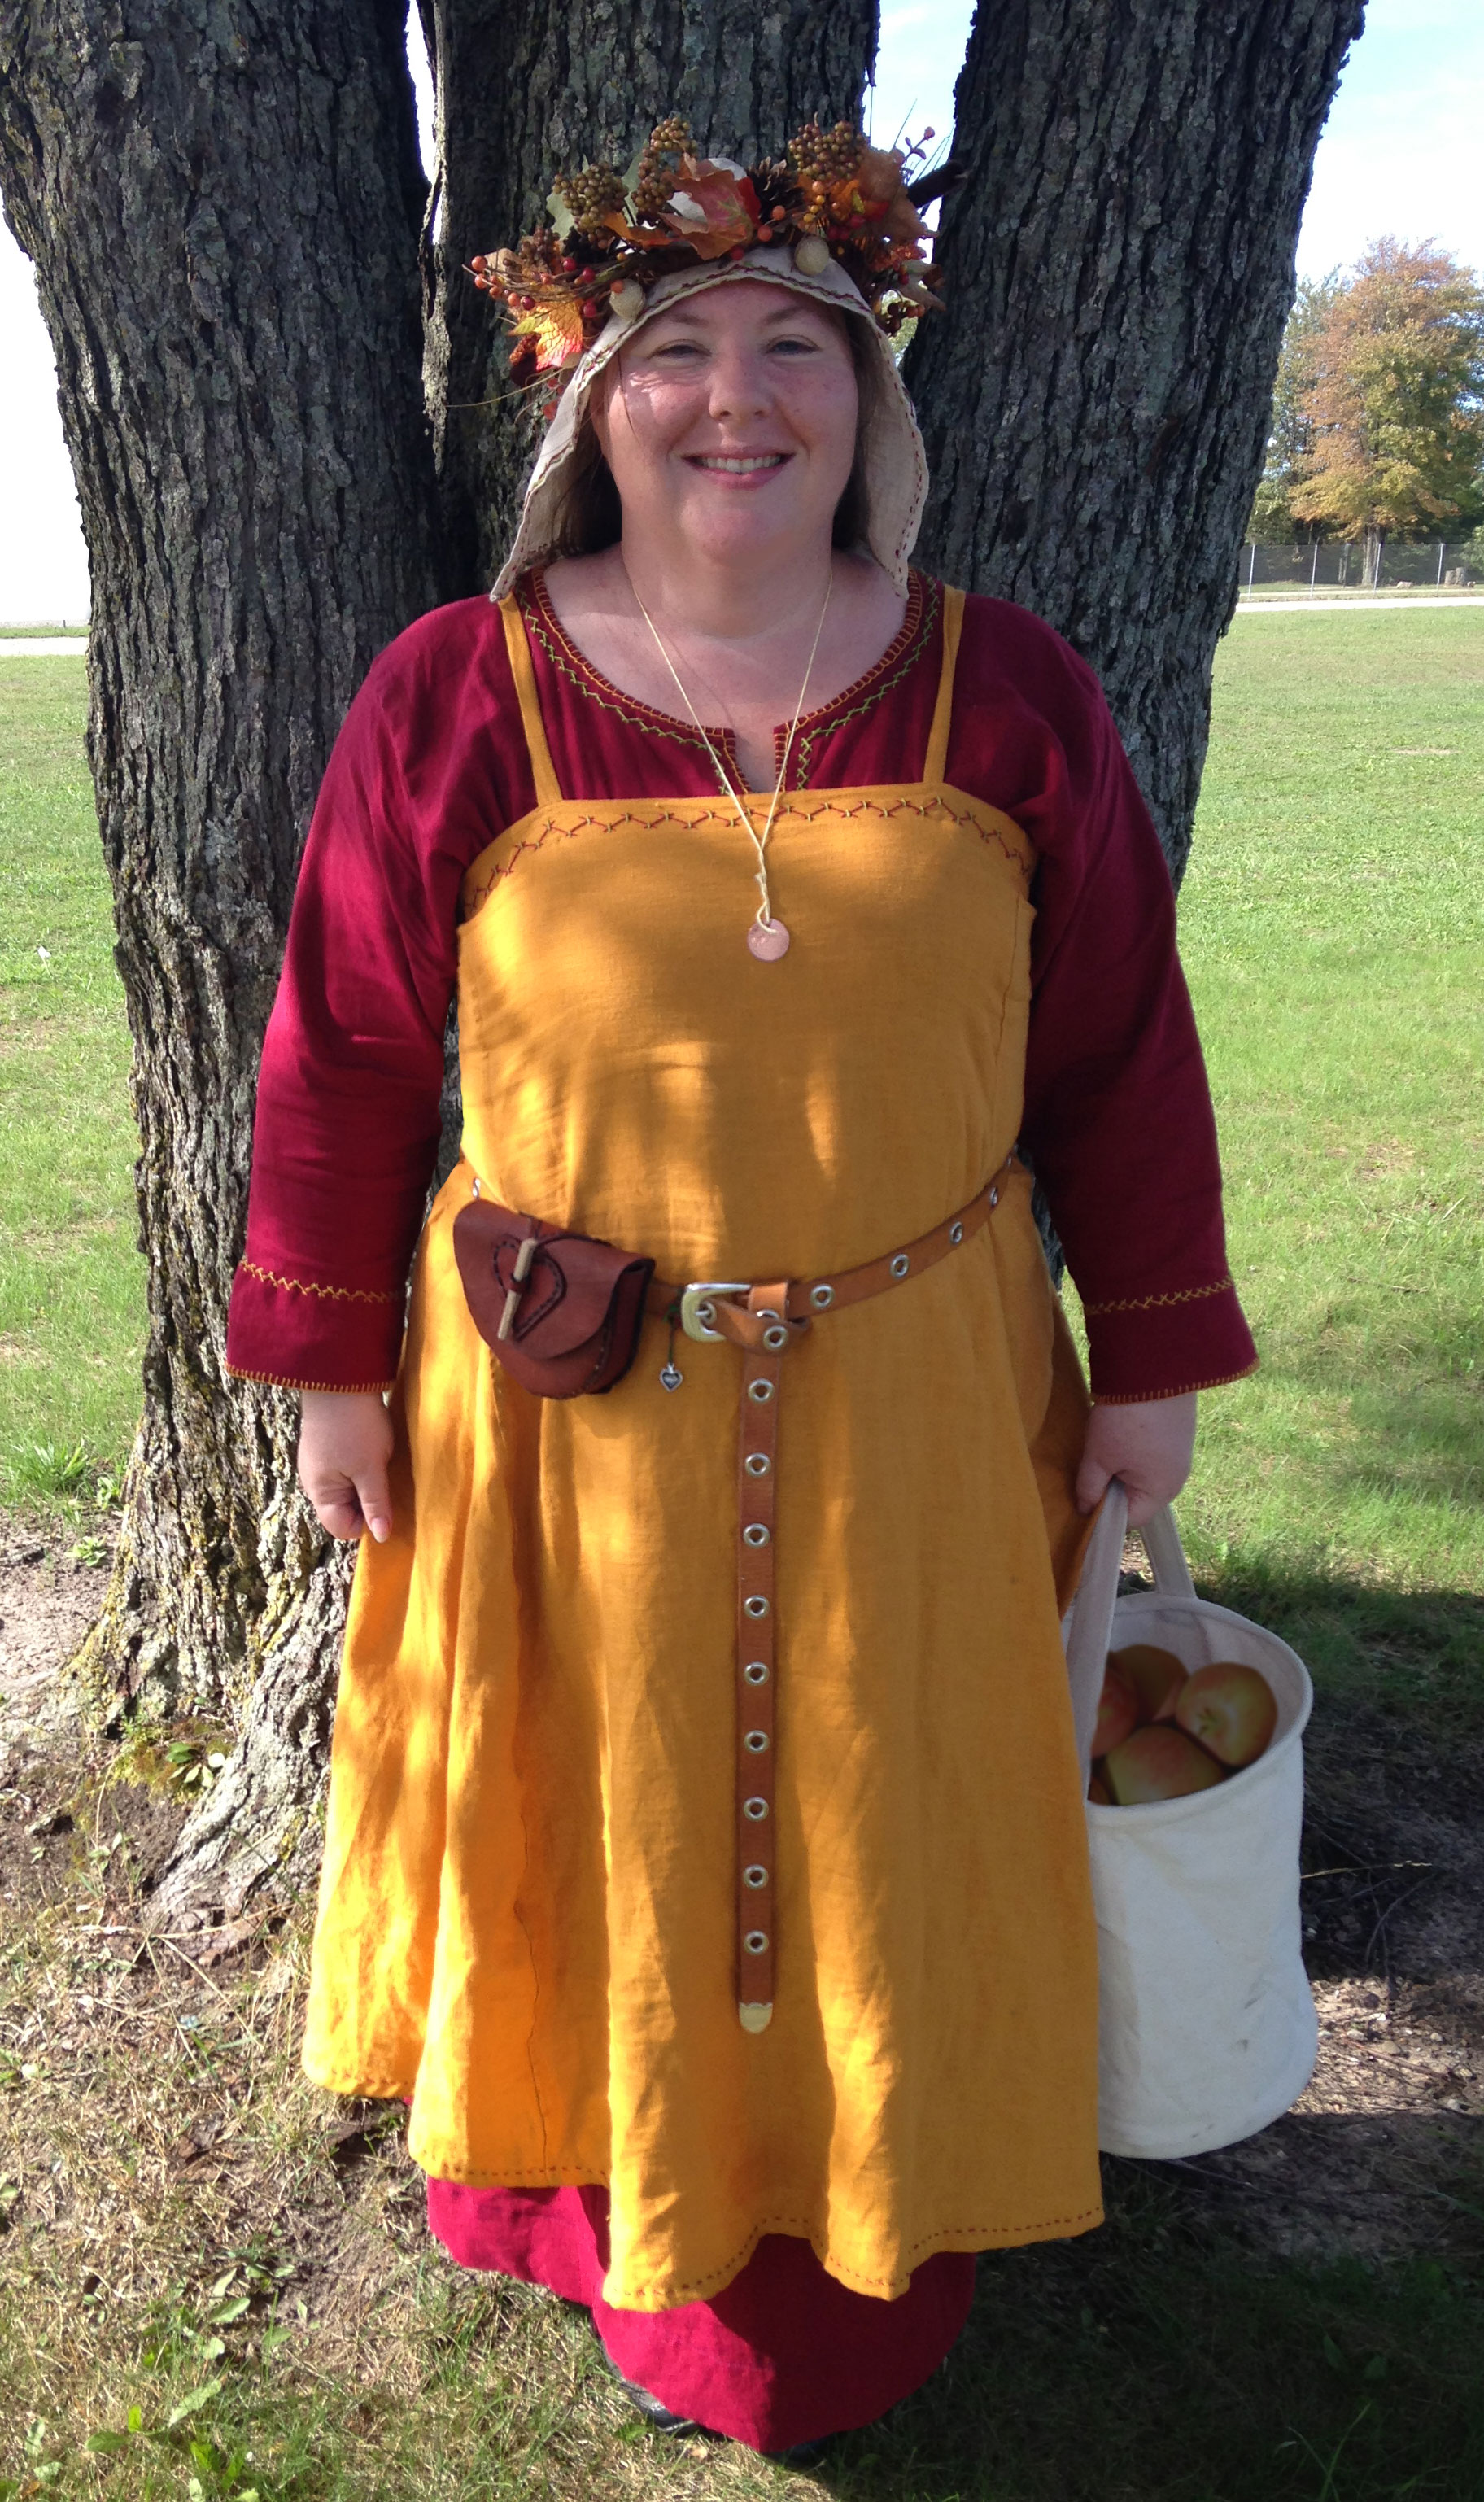
So I actually had this challenge completed almost two weeks ago, but I was lazy about taking pictures and writing this post. I knew months ago what I wanted to make for this challenge, and was happy to actually be able to accomplish it. Although most probably wouldn't consider it to be modern wear, I really wanted a short sleeved Viking linen gown to wear as a summer dress. I love the comfort of loosely fitted gowns, and I wanted something long and linen and perfect for the day to day. Here is what I made:
The full gown, still wrinkled from the last time I wore it.
Close up of the embroidery. I intend to do similar embroidery on the sleeves.
Close up of the neckline.
The gown being worn. This is also the best representation of the color.
The gown is a long rectangle, the width of half my bust plus some ease, and folded at the shoulder. It is gored from the low waist down to the hem, adding an extra 26 inches per gore. One gore was pieced to conserve fabric. The sleeves are rectangles, and there are underarm gussets. All seams were flat-felled.

The hem facing, sleeve and neckline detail are mustard colored wool, with the visible edges whipped down with cotton thread over wool yarn as filler thread. The embroidery is chain stitch.

I have worn this dress repeatedly, and I love it. I plan to make a leather vest or waist cincher to wear over it to make it more fitted and more modern looking.

The Breakdown:
The Challenge: #23 Modern History

Fabric: Green linen-blend, yellow wool-blend

Pattern: None, made it myself

Year: 9-13th century

Notions: Cotton thread, cotton embroidery floss, wool yarn

How historically accurate is it? The pattern is good. However both the linen and the wool were blended with rayon, and all of the seams were machine stitched. And besides the underarm gussets, all the flat-felled seams were also machine stitched. The embroidery is my own pattern, so unknown accuracy, but the chain stitch was used. This is probably my worst, say 20%.

Hours to complete: 5 for the dress, 15 for the embroidery

First worn: The day it was finished, to go out to dinner with my husband

Total cost: The wool was a remnant, the embroidery floss was inherited, and the yarn was clearance. All told, I think it was $25-30.

Monday, April 21, 2014

Renaissance Faire!

On Sunday my friends and I went to the Southern California Pleasure Faire and had a blast. There was an Easter parade for the kids, and we spent more time watching shows than we had in previous years. I wore a costume I made up quickly and quietly a few months ago, my Vik-torian costume.

The inspiration with a comment by a friend about trying to mix Viking and Victorian components in a steampunk-ish style. I had trouble with the design at first, until I realized that the bunad, the national costume of Norway, came into being in the 1800s. My mother is Norwegian, and what better why to progress the Viking aesthetic into the Victorian era than by looking at the clothes of the people in Scandinavia.  I pulled together ideas like these:
Pattern available here
This is similar to the cutting layout I used
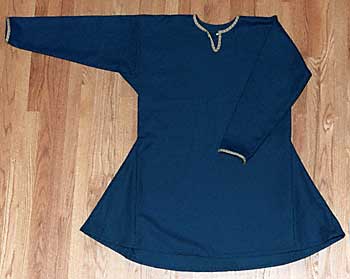
This men's shirt pattern is how I made my shift
The modern inspiration came from this bunad from the Telemark region of Norway
I also altered the shirt to reflect the modern bunad blouse
And the resulting outfit:
The close-up
The shift/shirt is linen, stitched in the viking style with a keyhole neckline, but with modern cuffs. The neck is bound in store-bought bias tape and some fancy store bought trim circles the neck and cuffs. My tortoise brooches are slotted spoons with the handles broken off, wrapped in wire, with a safety pin on the underside. The double strand of beads are a collection of various bits, the belt was a blank one a stained dark and added a buckle. On the right side you can see my drinking horn (which I totally drank mead out of. Like a Viking.) The apron dress is black wool that I bought on clearance, and the under-bust corset bodice is red wool, with cotton canvas for strength and zip-ties for boning. A different trim goes around the top.
The lacing eyelets are jewellery clasps I bought, and it is laced with suede cord.
The the bottom of the apron dress has a different trim, and the bracers are scrap leather with metal grommets for lacing. I painted Viking sigils on them, the left prevents you from getting lost at sea and the right strikes fear in your opponents in battle. I also sewed on some fake fur trim, because a google search of Viking costumes will tell you that you're not a Viking unless you have fur on.
The costume was surprisingly comfortable, I was expecting worse considering I was wearing wool when the temperature was in the mid-80s. But the fabric was thin, the linen helped keep me comfortable, and the fact that I made the outfit knee length meant a had good air flow. I did have to let the corset out a bit, after lunch, but that was easy. I was particularly happy that I got to use my relic bag.
I knitted it a while ago out of a wool/bamboo blend, based off of this actual Renaissance bag:
My pattern in based off of the description of the Chur Purse. Note: although the gauge for the original is listed as 7 stitches per inch, they mean 7 stitches per centimeter. My bag is 7 stitches per inch.
So there you have it, Vik-torian costume at the Renaissance Faire. Now to get ready for my trip tomorrow, but one more pic before I go. Here is my cat, Ali, helping me draft of 18th century stays:
If the internet has taught me anything, it's that every sewing blog should have at least one photo of your cat "helping" you.

Monday, April 14, 2014

Stupid Adulthood

I had to bribe myself to get things done today. But now that the house has propane again, the car is gassed and had the oil changed, and I have ability to mow the pastures again, I allowed myself a trip to the Dollar Tree to pick up a bottle brush to clean my new drinking horn.
Is so pretty
Once it's cleaned and cured, I'll make a leather holster as use it at the upcoming Renn Faire. I was going to coat the interior with beeswax, but considering it can be over 80 degrees F indoors I thought it better not to waste time on something that won't work in the long run. Most guides use ale to cure it, but I wonder if vodka is okay. I like ale, but I have a big thing of vodka gathering dust in the cupboard. And wasting beer always seems like a crime. I plan to do more to it, but there is talk of going to the Renn Faire on Easter, so I doubt I'll have time.

I also picked up a selection of bamboo place-mats to use for boning in my 18th century stays. When I get to work on them (which will probably be during my vacation next week), I'll be using this tutorial, along with information in Norah Waugh's Corsets and Crinolines.
The pale ones in front have pieces 1cm wide; they're also the longest at 14 inches. They were the most expensive, a whole $2 each at Anna's Linens. Behind it, the next one has white pieces 2mm wide and blue pieces 5mm wide, but only 12 inches long. It was the only one I could find at the Dollar Tree. The two rainbow and two greenish ones at the top of the picture have pieces 3mm wide and 13 inches long. Those were $1 each from Big Lots. I have the width in metric because most articles I've read talk about stay bones in millimeters. 2-4 mm is more period for fully boned stays, but I'm not sure 13 inches will be long enough. But these will be my 'cane' boning for any lightweight stays or corsets I make for a while.

In the upper left corner of the picture are the silk pieces for Gabriel's corset, which I will be basting to the coutil by hand. Luckily, I found The Dark Knight for $5 at Big Lots, so at least I'll have entertainment.

Want to see the Disappearing Pencil trick?