So I said I was going to make a tutorial, and so I am.
My Regency turban was made for the Historical Sew Fortnightly Challenge: Yellow.
I had issues with this challenge, because like many I don't really like yellow. But I do like plaid, so when I found a not horrible yellow plaid, I figured a turban would build my wardrobe, not take too long, and be something I could actually wear.
 |
| Not horrible yellow |
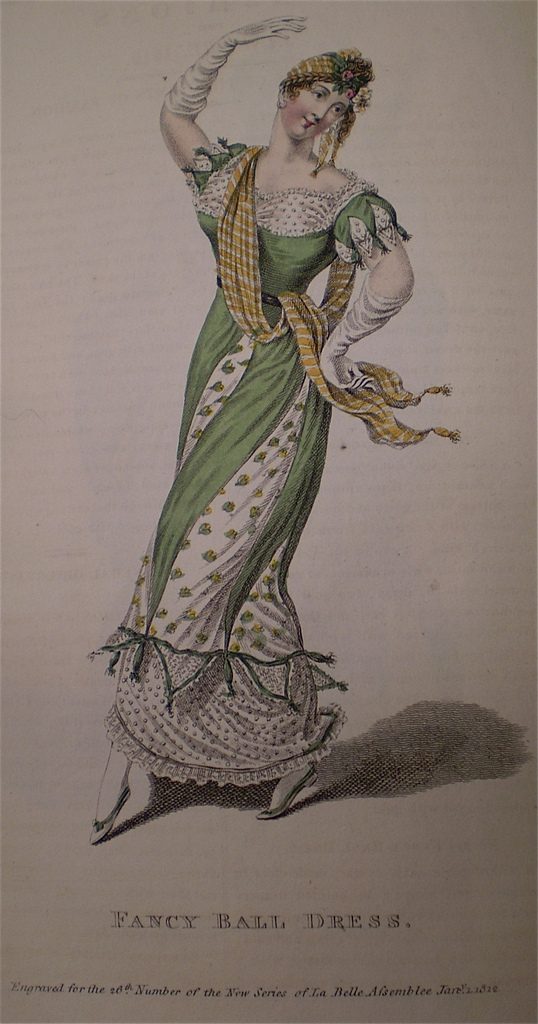
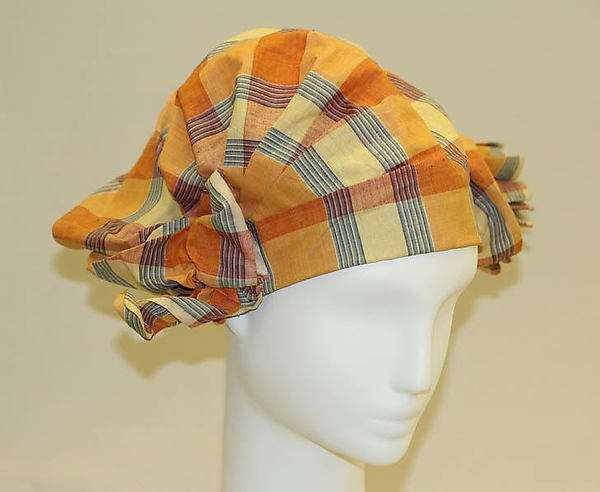
So I spent a little time on Pinterest looking at fashion plates and existents, and found that plaid turbans were a thing.
This one was probably the best, but it's obviously a wrap turban and would be hard to do as a solid cap.
This one isn't bad, but it's a very different kind of plaid.
This seemed like an okay idea, until I saw the back.
Nope.
I tried playing around with my fabric to find a way that would work for me, and I couldn't. The plaid was too loud with nothing to offset it. I continued searching, hoping to find something that would allow me to make a yellow plaid turban, when I discovered this:
Yellow jacket and bag, accented with red. A yellow turban might be out, but a red one, with yellow accents? That's more my style.
The turban on the left in the upper picture and top center in the lower picture served as my main inspiration pieces, and I got to work.
I had a half yard of 54 inch wide burgundy linen to serve as the body of the turban cap. At first I played around with a fully fabric cap,
but realized I was going to need some kind of structure. Dollar Store fedora to the rescue!
I cut off the brim and covered the edge and base with a three inch wide strip of linen. The linen was sewn to the inside, even with the edge, folded over to the outside, and tacked down with running stitches. I also cut off the top to make more room for my dreads. That edge was covered with ribbon, folded over the edge and hand sewn.
 |
| Dread space |
A circle as wide as the fabric would allow was cut and unevenly gathered onto the cap.
 |
| Don't look at the camera. Look anywhere but the camera. |
The circle was stitched down unevenly, so it would meet the band edge at the top, but come down to the wearing edge at the bottom.
Next came the plaid bit. I had some cotton quilt batting on hand, so I rolled up a log of it about 2 inches in diameter and long enough to fit around the cap.
 |
| Loosely rolled batting |
This was stitched together to prevent it from unrolling.
A bias strip of plaid wide enough to go around the log (plus seam allowances) and long enough to cover it with overhang was cut, folded in half lengthwise, and stitched.
 |
| Looking closely you can see little hand stitches along the top edge. |
This was turned rightside-out
 |
| Turning |
the batting attached to a large safety pin for ease
and inserted into the plaid tube
 |
| Ta-da! |
I played around with trims for a while, and finally settled on a brown trim topped with some yellow soutache-like cord.
The trim was pulled tight to cause the plaid tube to puff out in-between, but to avoid looking overly structured it was only stitched together where it met the seam. If you look closely you can see the ends of the white thread where the trim is attached at the seam.
Then some burgundy tassel trim was added where the crown met the brim
and was then completely hidden by the plaid.
 |
| I wanted it to peek out like this, but I didn't secure the roll far enough back so the tassel trim became completely hidden. Oh well. |
The tube was stitched to hide the seam line all the way around and through all layers.
 |
| Trying to let the tassel trim show |
There was a casualty.
 |
| My needle literally snapped between my fingers as I was trying to maneuver it. |
Decorative roll secured, I cut the rest of the linen into 5 inch wide strips
stitching them together into one long tube (so I didn't have to worry about hiding the raw edges), and began playing around.
 |
| The bottom of the plaid strip where it extended past the batting was gently knotted, stitched to secure it, and the ends were hemmed. I wanted to have them hang down my back with tassels on the very ends for extra flair. |
I still had some of the yellow soutache left, along with some brown cording that matched the trim wrapped around the plaid roll. After a lot of playing around
I finally decided on folding the linen tube in half and braiding it with the two cords. That was tacked on repeatedly until I was happy with the style.

Sorry the pictures are all over, I'm not good at this.
The braid had its center point tacked over the plaid roll, with each end wrapping under the fabric at the back of the head and the ends over each other just behind the plaid roll. This was stitched down here and there, wherever I thought it was necessary (generally wherever I had pinned it during the trying on stage).
 |
| Sewing in progress |
 |
| And stitches nicely hidden. The braid is only stitched to the fabric, not to the structure underneath, to keep it relaxed looking. |
|
 |
| The ends of the braid, stitched down on top of one another. |
The extra fabric at the very back
was simply folded over and stitched at the tip.
 |
| Please ignore the box of Cheez-its and the raccoon piggy back in the background. |
After this more trim was acquired, this time an inch wide yellow upholstery trim. This stitched onto the brim.
And around the point in the back, hiding the cut edges under folds of fabric to make it look continuous.
Next was tassels. The ones I bought were attached to a cord, so first they were freed.
The ends were knotted, the tips of the plaid roll were folded around it, and it was stitched together.

Blurry stitching photo, but you get the idea. The knot gives a nice secure point to stitch around, so I don't have to worry about the cord unravelling.
Brown piping was added around the brim edge, stitched carefully to prevent the thread from showing on the right side.
 |
| Flawless |
And pearls were added. Lots of faux pearls.
 |
| The strands sink into the cap, to give the appearance of wrapping. |
Now I just needed something to cover the point of the pearls, and the ends of the braid. After hating everything I had in my jewelry jar, I eventually some winners in my button bin. A metal crescent moon button (the only one I own) was prefect for the top point, and a different button worked to cover the braid ends.
 |
| I think maybe the moon should be pointing the other direction, but I'm too lazy to change it. |
And the finished project:
And I can shove the dreads in, though the cap looks a little weird when I do.
Though not weirder than period caps, so I think it works. The only extra not pictured is the strip of muslin hemmed and stitched to the inside to hide stitches and the bits.
I didn't really use a pattern for this cap, and I'm not certain of the period accuracy, but it hides my anachronistic hair and I'm happy with it.
For other tutorials that I used to help me (and that you may want to refer to if I was unclear)
Festive Attyre did an excellent post on making hers, and
Lynn McMasters has a guide to making the padded roll on the turban.
So there you go, a brick of text and photos. Hope it's helpful!